Coloring a line art image is basic on the surface, but to really get a quality result [and something you can get creative with] you should begin by separating the black lines from the white page. Here are some steps to help you through this project:
Step 1: Begin by finding a good example of a line art image. You can specify in your Google Search that you want large, line art images --
try this search for an example.
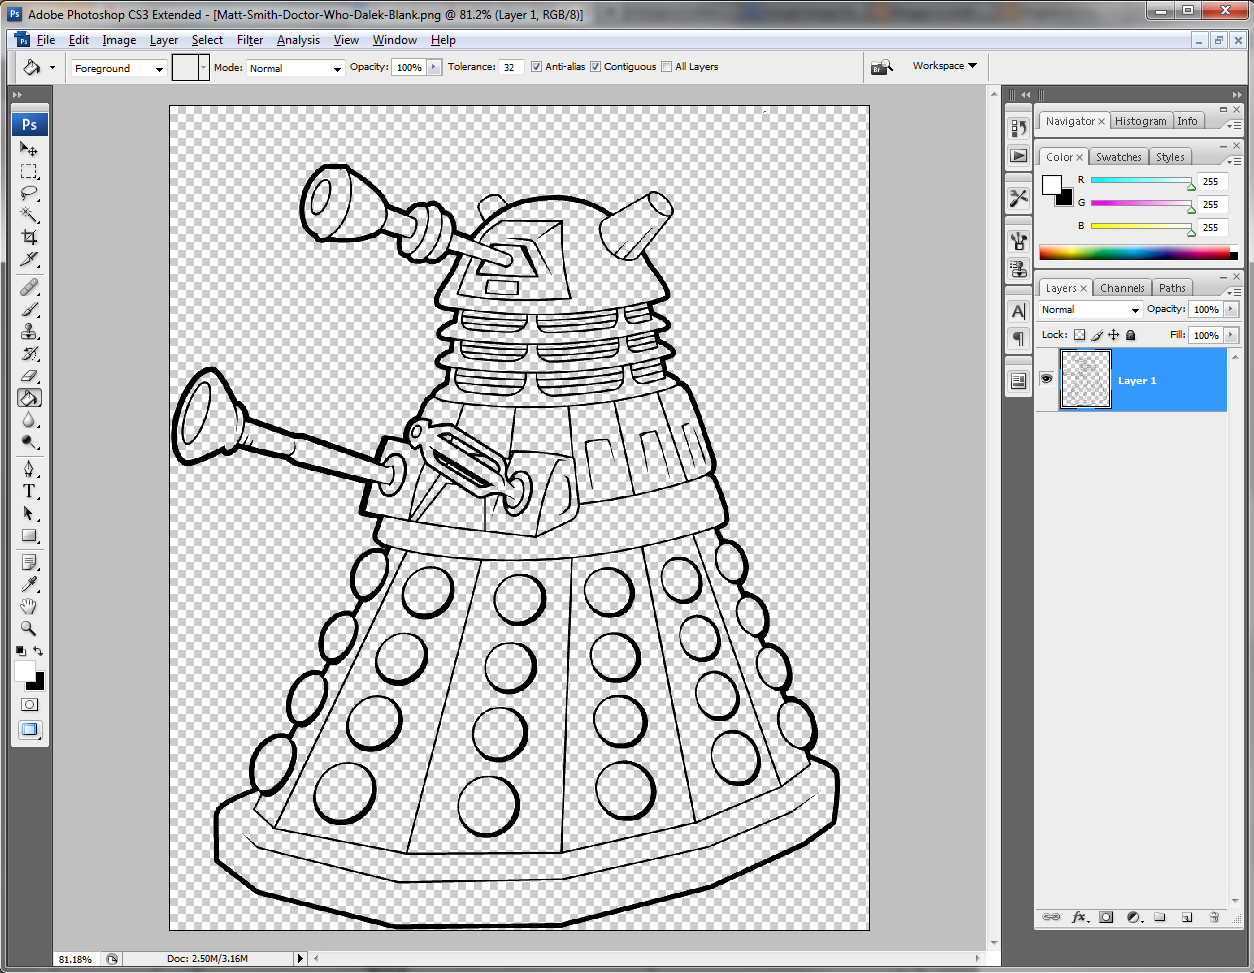
Step 2: Do a SELECT > COLOR RANGE and then click on the white area of your picture. Drag the "fuzziness" up a bit to catch any straggler pixels.
Step 3: Press DELETE and also delete the background layer. You should see a line art image with a checkered [transparent] background.
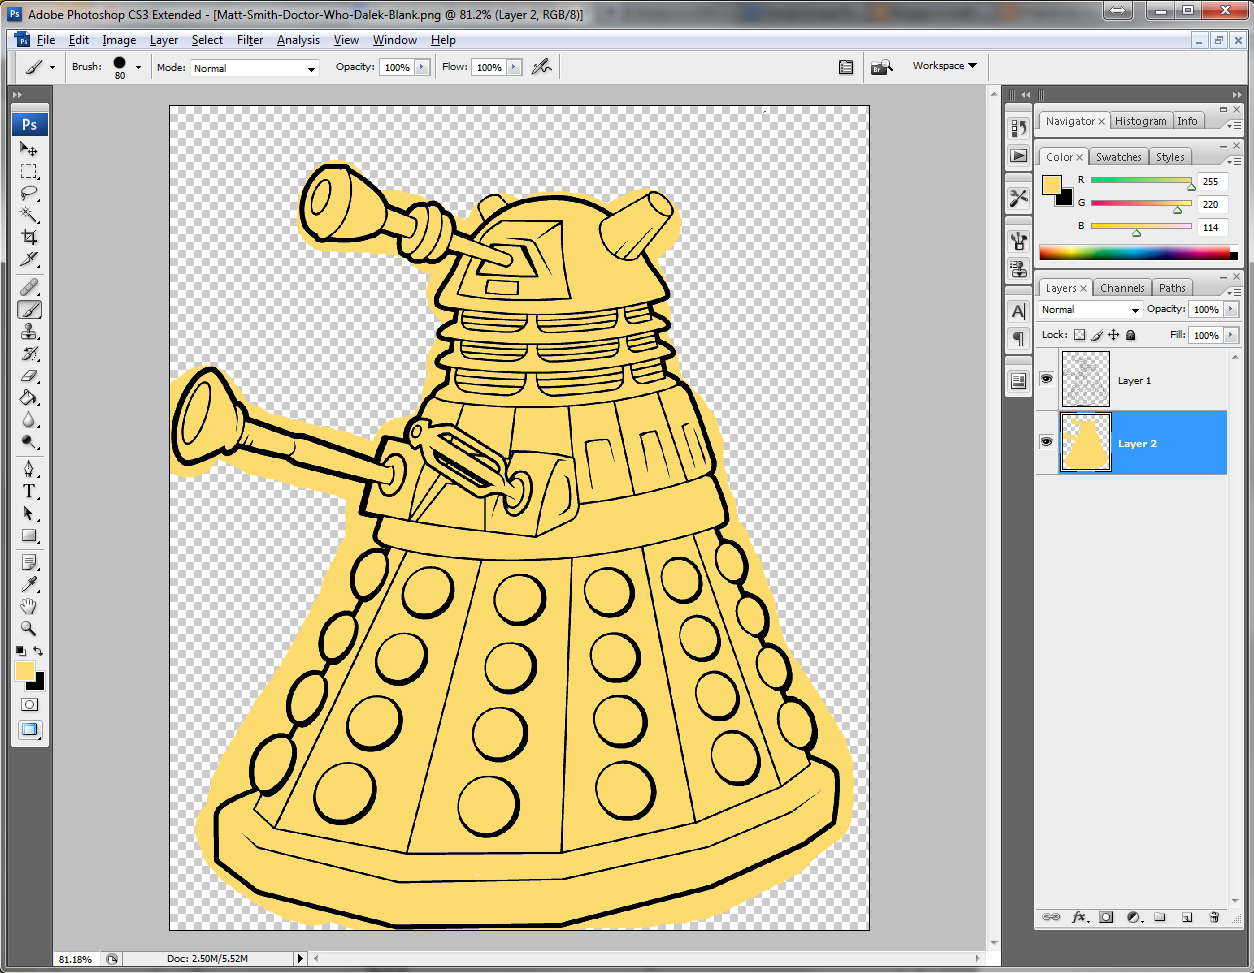
Step 4: Create a new layer and drag it beneath the Line Art layer. Use the paintbrush to put down a good "foundation coat" which you can do without worrying about the lines.
Step 5: Click on the Line Art layer, select the Magic Wand tool, and click on the empty background area. This should select everything around the object you are coloring. Now click back on the "foundation coat" layer and press DELETE. This should clean up the edges of your object (see above).
Step 6: Use your DODGE tool (looks sort of like a round push pin) and a small brush to add some highlights to areas where you would expect to see them. In this example I assumed the light was coming from the top-left so I added highlights to the top of the dome, the top of the instruments, and along the tops of other ridges.
Step 7: Use the BURN tool (looks like a pinching hand) and a small brush to add "shadows". I added shadows on the underside of instruments, under the lips of overhangs, under the extending spheres, etc.
Step 8: If you have spherical/rounded objects (such as the circles on the bottom of the Dalek), go to the Line Art layer and select the object(s). If you have multiple objects (above) hold shift and select all of them. Then I like to expand the selection a little by going to SELECT > MODIFY > EXPAND and then 1 pixel. This will allow the new layer to slightly expand beyond the "holes you're putting them in.
Step 9: Create a new layer and use the paintbrush to paint into your selections. We will add a bevel to these new pieces in the next step.
Step 10: Go to LAYER > LAYER STYLE > BEVEL & EMBOSS and adjust the settings until you get the roundness you want.
Step 11: Add details, textures, colors, etc.
Step 12: You can also add a background and a foreground if you choose.
Here are a couple more examples:


No comments:
Post a Comment